Concrete Section Properties AI MCP Server
Documentation
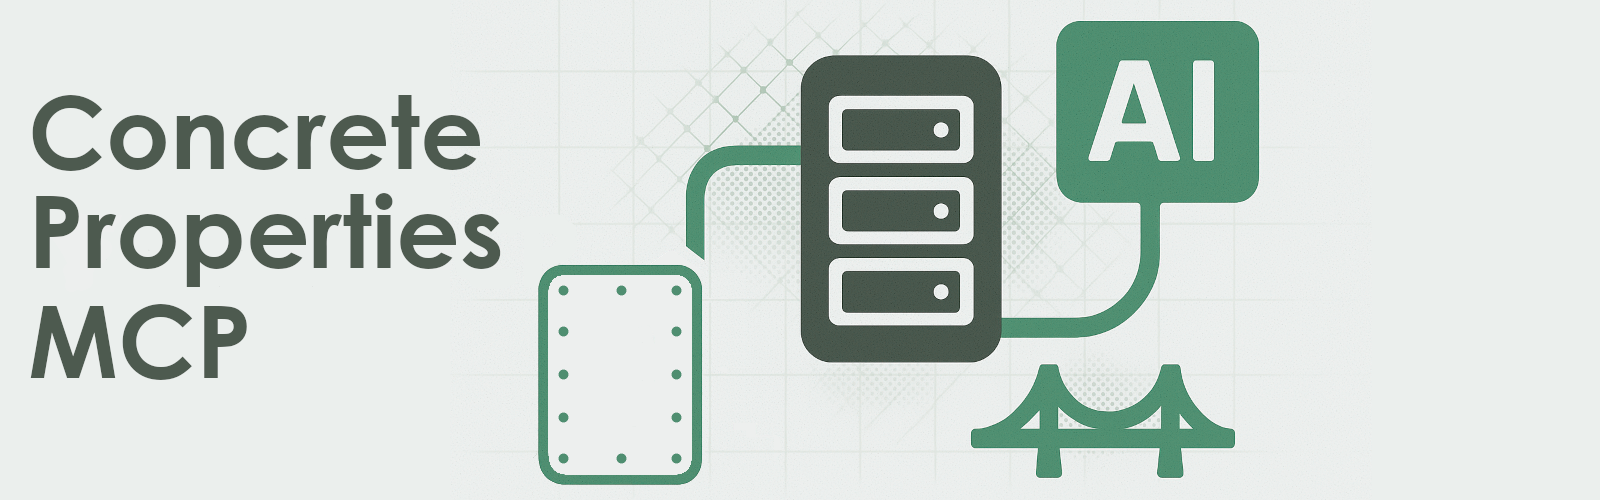
Concrete-Properties-MCP Server
A Model Context Protocol Server for Reinforced Concrete Section Analysis
🚀 Overview
The Concrete-Properties-MCP Server provides a unified API interface for interacting with the **Concrete Properties** Python library. It enables AI-driven calculation of section properties and capacities of reinforced concrete sections through a consistent interface.
✨ Supported Features
- Section Properties:
- Calculate geometric properties (area, centroid, moment of inertia, etc.)
- Compute transformed section properties
- Reinforced Concrete Analysis:
- Calculate axial, bending, and combined capacities
- Determine interaction diagrams
- Material Properties:
- Define concrete and reinforcement material properties
- Support for multiple concrete grades and steel types
🖥️ MCP Tools
The server provides the following main API functions:
rectangular_concrete_area_properties: Compute the rectangular concrete section geometric properties.arbitrary_concrete_area_properties: Compute arbitrary concrete section geometric properties.rectangular_concrete_bending_capacity: Compute the rectangular concrete section bending capacities (Mx+, Mx- and My) under the given axial load.rect_concrete_axial_moment_x_points: Compute the rectangular concrete section axial - moment/bending (around X) interaction diagram points.rect_concrete_axial_moment_y_points: Compute the rectangular concrete section axial - moment/bending (around Y) interaction diagram points.rect_concrete_axial_moment_x_image: Plots the rectangular concrete section axial - moment/bending (around X) interaction diagram points.rect_concrete_axial_moment_y_image: Plots the rectangular concrete section axial - moment/bending (around Y) interaction diagram points.
⚙️ Installation
Requirements
Required Python libraries:
mcp>=0.1.0                 # Model Control Protocol library
matplotlib>=3.10.1         # Library for plots
concreteproperties>=0.6.4  # Concrete Properties library
Guide
1. Install the required Python libraries from the command line:
pip install mcp concreteproperties matplotlib
   //or
   pip install -r requirements. txt
2. Download this repository and save the extracted files locally (e.g., at ``C:\your_path_to_the_extracted_server\concrete-properties-mcp\``).
3. (Optional) Edit the MCP server configuration file, located at src/config.json (see configuration section).
4. Install Claude Desktop (or another AI client with MCP support).
5. Configure Claude Desktop to launch the MCP Server automatically (see Claude Desktop section).
6. You are good to go!
Configuration
The configuration file is located at src/config.json and contains the following main settings:
{
    "server": {
        "name": "Concrete Properties MCP",
        "version": "1.0.0"
    },
    "options": {
        "mesh_size": 50,
        "concrete": {
            "material_density": 2.4e-6,
            "rectangular_stress_block_alpha": 0.802,
            "rectangular_stress_block_gamma": 0.89,
            "rectangular_stress_block_ultimate_strain": 0.003,
            "flexural_tensile_strength": 3.4
        },
        "rebar": {
            "mesh_points": 4,
            "material_density": 7.85e-6,
            "material_fracture_strain": 0.05
        }
    }
}mesh_size: Mesh size (mm)- Concrete options:
material_density: Material density (kg/mm^3)rectangular_stress_block_alpha: rectangular_stress_block_alpha": 0.802, # Alpha value for rectangular stress blockrectangular_stress_block_gamma: Gamma value for rectangular stress blockrectangular_stress_block_ultimate_strain: Ultimate strain (mm/mm)flexural_tensile_strength: Flexural tensile strength (MPa)- Reinforcement options:
mesh_points: Number of mesh points for rebarsmaterial_density: Material density (kg/mm^3)material_fracture_strain: Material fracture strain
🤖 AI Clients
5ire
Open 5ire > Tools > New, input the following info and then click Save:
| Input | Value |
|---|---|
| Tool Key | *ConcreteProperties* |
| Description | *Concrete Properties calculation server for reinforced concrete* |
| Command | python C:\your_path_to_the_extracted_server\concrete-properties-mcp\src\server.py |
Caution: Update the path! (single slashes)
Then turn on the server and you are good to go!
Claude Desktop
Open Claude Desktop and navigate to File > Settings > Developer > Edit Config, edit claude_desktop_config.json and add the following JSON.
{
    "mcpServers": {
        "concrete": {
            "command": "python",
            "args": [
                "C:\\your_path_to_the_extracted_server\\concrete-properties-mcp\\src\\server.py"
            ]
        }
    }
}
Caution: Update the path and use double backslashes!
Then restart Claude Desktop (from the tray icon, right click > Quit).
Visual Studio Code - GitHub Copilot
The MCP server is already setup in .vscode\mcp.json. Open the repository folder in visual studio, select .vscode\mcp.json and click "Start" above the server name (more info here).
🐛 Debug
You can test and debug the MCP server using the MCP Inspector by running the following command:
npx @modelcontextprotocol/inspector mcp run src\server.pySimilar MCP
Based on tags & features
Trending MCP
Most active this week